


Strapping Basics. Notes from our Level 1 Course.
Level 1 Strapping Course
Strapping tape and Supportive taping is commonly used by physiotherapists and trainers to:
- relieve your pain
- improve joint stability
- enhance athlete confidence
- reduce injury recurrence
- prevent injury
Types of Strapping Tape
- Rigid strapping tape commonly used in taping or strapping is often referred to as “sports tape” or “athletic tape” and is most often a rigid style of strapping tape.
- Elastic strapping tape can also be used when less rigidity or support is required, or as an overwrap to provide added support.
- Kinesiology tape (or K-Tape) is an improved version of elastic sports tape that acts to dynamically assist your muscle function.
- Underwrap tape is used to protect any sensitive areas.
One of the main functions of tape is restriction of movement
- Elastic tape DELAYS the movement
- Rigid tape LIMITS the range of movement by up to 25-50%
- Use of underwrap – loss of 30-50% of effectiveness
Other main function of tape is stimulation of our proprioceptive system!
Serves as a ‘Reminder’.
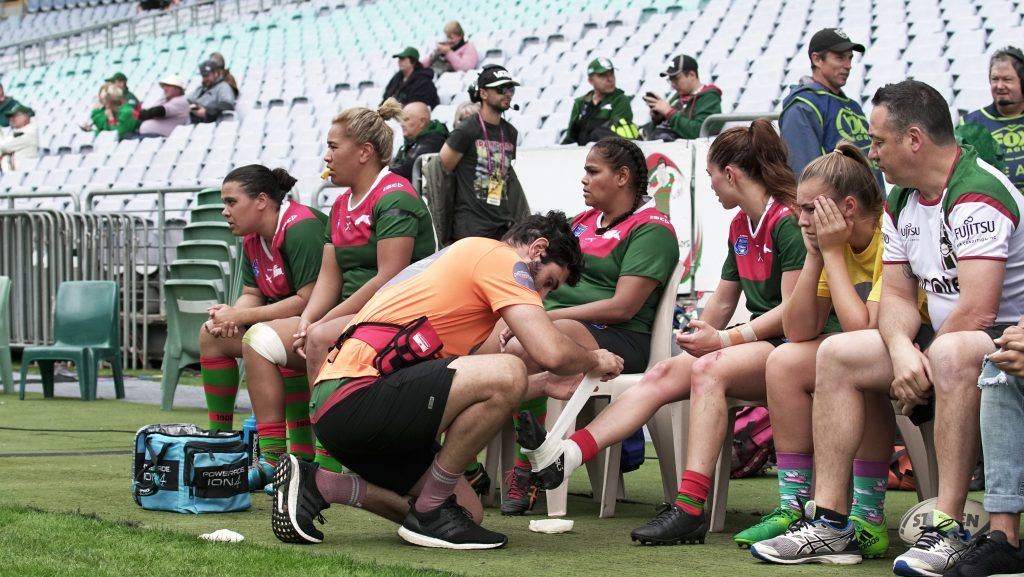
Preparation and Protection of the skin:
Check that the person to be taped is not allergic to adhesive tape. They may not know this if they have not been taped before but it is best to ask. Also, make sure there is no broken skin or existing rashes.
You may ask the patient to shave to remove hair from the area to be taped (generally only for patient comfort upon removal only). For best results this should be done 12 hours before application of tape to reduce skin irritation.
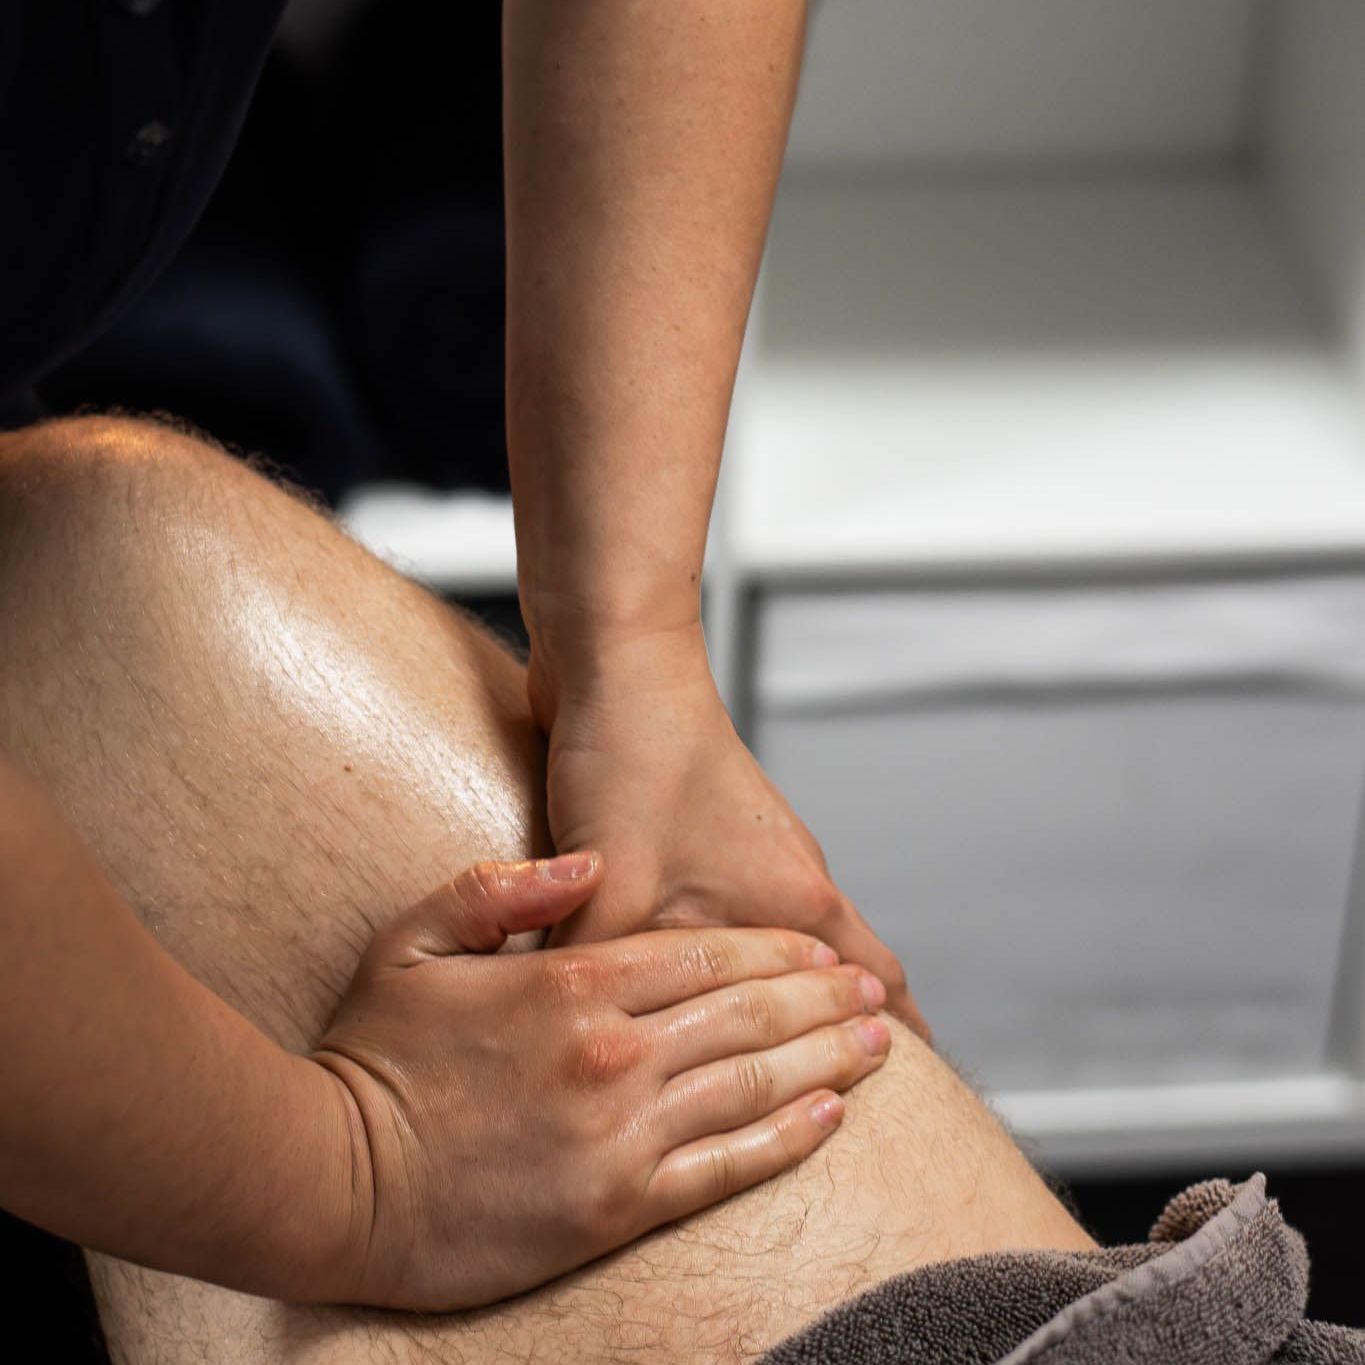
Clean and prepare the skin. Before taping the area and skin should be clean and free of any oils or creams, as they will reduce the effectiveness of the tape’s adhesive. If the athlete has particularly oily skin or you want increased adhesion you may opt for a pre-tape adhesive spray
Pad any sensitive areas or cuts with underwrap. We utilise Leukofoam Lite or Elastowrap (or other hypo-allergenic underlays) on areas where ‘tape cuts’ are more common (e.g ‘heels’ or ‘laces’ for ankle taping).
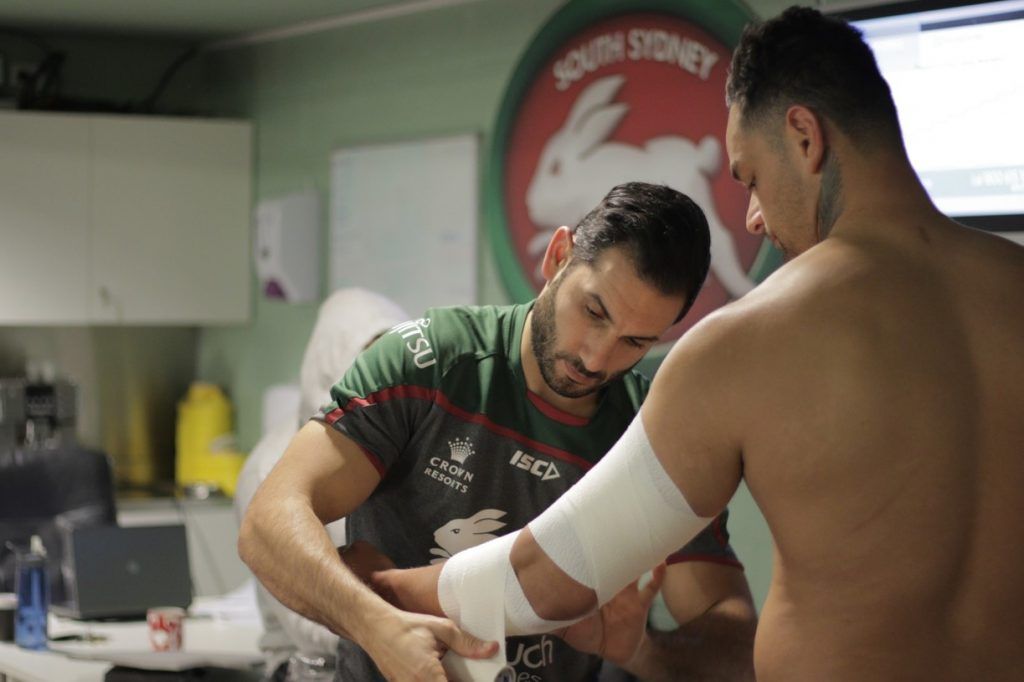
Rules of tape application:
- Place limb or joint in position that offers most stability and comfort to athlete. Joints are normally strapped in the ‘neutral’ or functional resting position. Positioning is one of the most important things to consider when strapping!! Need to ask yourself – “What are we trying to achieve?” As sports physiotherapists and trainers we need to identify the positions in which the joint/ligaments is most at risk, and therefore should tape the joint in a position of protection. For example, an anterior shoulder dislocation taping is performed with the athletes shoulder in internal rotation, to protect the shoulder from the ‘at-risk’ position of external rotation and abduction.
- Choose an appropriate thickness of tape for the part to be strapped. Take into consideration the size and musculature of the person you are tapping.
- Follow natural anatomical boundaries for tape application. Due to the conical shape of the limbs (e.g. the calf muscle) applying the tape perpendicularly leads to uneven pressures at the top and bottom portions of the tape.
- With musculature, allow for contraction/expansion.
- Hold the roll in one hand and pull off the roll with the other, then apply to the body part. Alternatively cut or tear lengths of tape to fit the part, then apply.
- Each layer of tape should overlap the previous layer by approximately a third to half the width of the tape.
- Smooth and mould tape as it is laid on skin. The strapper should be acutely aware of the ‘line of pull’ of the tape which they apply. Novice strappers often just lay down the tape in pre-learned directions without thought about what they are trying to achieve.
- The tape should mould to the anatomy of the region and follow the line of the ligaments to be supported. Allow tape to fit natural contours of skin/body part.
- Always start taping with anchor pieces and finish with closing pieces (lock-off).
- Where maximum support is required tape directly on skin (use minimal underwrap).
- Tape should be applied firmly to the skin but not so firmly as to cut off the blood supply.
- Use an amount of tape sufficient to support the joint. Too much will restrict the joint and too little will offer poor support.
- With practice you will get better at applying and judging the amount required. Like any other skill – it takes years of practice to master!
- When finished tape application, check tape job for support, tidiness and flaws
Caution
Always check once you have completed the taping to see if it is too tight and loosen or reapply if necessary.
Check circulation distal to tape. This is more of an issue with wrists, thumbs and fingers.
Removal of tape:
- Tape should be removed immediately if the circulation appears to be affected or the person taped complains of itching or develops a rash.
- Under normal circumstances, it should be removed once the activity it was put on for has finished.
- Use either bandage scissors (which have a rounded end so as not to cut the person) or take the tape off in individual pieces.
- With the scissors slip them between the tape and the skin in a muscular part of the body, not against the bone. Slide and cut at the same time.
Common flaws of tape application:
- skin not prepared properly (too oily)
- wrinkles/rolling of tape
- tape applied to tight
- tape applied too loose
- ‘windows’ in tape job
- natural anatomical boundaries ignored
- failure to apply proper anchors
- failure to use sound biomechanical principles